Performing an ‘assisted self-mole check’ at home with a DIY dermatoscope
In this section, we will discuss the types of images you need to take for the skin lesions you wish to submit for medical assessment and how to capture them. We cannot emphasize enough the importance of providing good-quality images for medical evaluation. Please read our refund policy concerning inadequate images. For the last time, we encourage you to purchase a home dermatoscope by clicking here.
For each skin lesion you want to submit for medical analysis, along with the relevant medical history, you need to provide three sets of images:
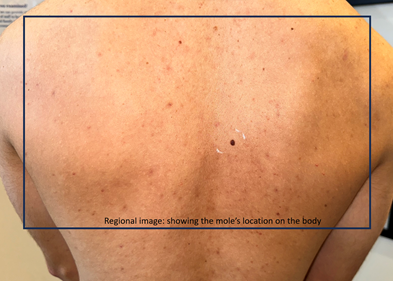
- Regional image: A photo showing the body part where the mole is located, capturing its wider surroundings.
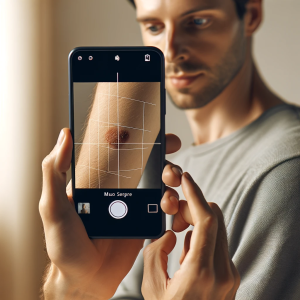
- Close-up image: A close-up photo of the specific skin lesion, covering roughly a palm-sized area.
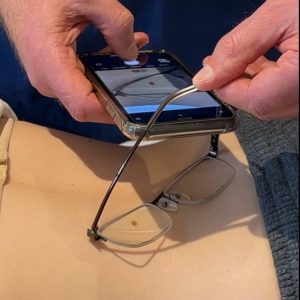
- Dermatoscopic image: A photo taken with your DIY dermatoscope.
Your Assistant in Action
Previously, we explained why a trusted family member or friend should aid a self-mole check. The person who assists you with your self-mole check process will perform the following steps. Your assistant must have a solid understanding of the process to ensure the subsequent steps are executed with high quality.
If you use a DIY dermatoscope, having a helper is even more important.
Taking Images
Read the following guidance in the context of ‘assisted self-mole check’ so your helper takes the images of your moles. Stand still while they are capturing the images.
